


Cordless drill drivers are one of the most essential tools required in construction sites and home repairing and renovation projects. As the name suggests, cordless drill drivers help in drilling holes in different surfaces with ease and convenient at a high speed. Also, they are without any electric wires or cords and run with batteries. Be it a professional or a first time user, cordless drills are a must for combining power and perfection for all kinds of drilling jobs. There are a variety of types available in cordless drills that are categorized according to the jobs they help on performing.
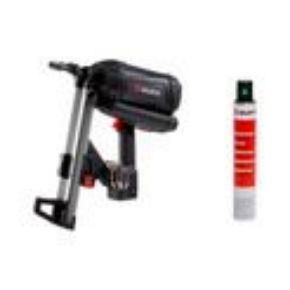
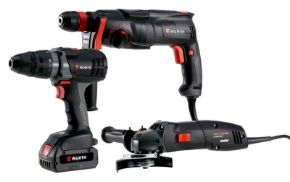
Some of the common types of cordless driver tools include the hammer drills, impact drivers, drill drivers, and screwdrivers. Hammer drivers can be used effectively for drilling holes in any material including bricks and concrete. Drill drivers are also one of the 'must have' drilling equipments because of their useful features. Their compact size, high power performance, torque clutch, and great designs make them efficient for multipurpose functioning. The cordless impact driver on the other hand is perfect for driving screws in different surfaces. You can drive multiple screws with the help of the cordless impact drivers although you cannot remove them.
Cordless screwdrivers are also very useful tools for driving screws in the blink of your eyes. They come in a compact size and can be carried around in your pocket. The head of the screwdrivers can be bent which gives them the flexibility of working in closed areas as well. All these tools are a part of the set of compact drill tools some of which come with relevant accessories.
Like all other tools there are some advantages and disadvantages associated with cordless drilling tools. The primary advantage of cordless compact drills is that they do not require worrying about the wire room or attaching the cord to the power. Cordless tools run on batteries and come in handy designs that provide convenience and ease of grip while working. However, the disadvantage of working with these tools is that you need to ensure that the batteries are fully charged while working. While using these tools for lengthy and powerful jobs, you must carry extra batteries and replace them so that you can keep using them.
If you are buying a set of compact drilling tools, there are certain aspects that you need to check on. The battery pack is very important because the tougher and lengthier the performance the greater power and volts of the tool. You must also know the weight of the tool is directly related to the volt or the power, which means tools with higher volts, would be heavier than the ones with lower volts.
Cordless drill drivers mostly come in the shape of a pistol which makes the grip easier. Some tools will have safety button on the handle of the tool used for rotating the drill bit. The price ranges of the different makes and models may vary as per brand, weight, size , and volts.
Article from the Article Factory
Author Klika Klikson